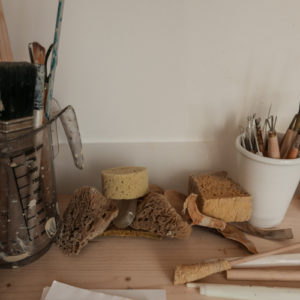
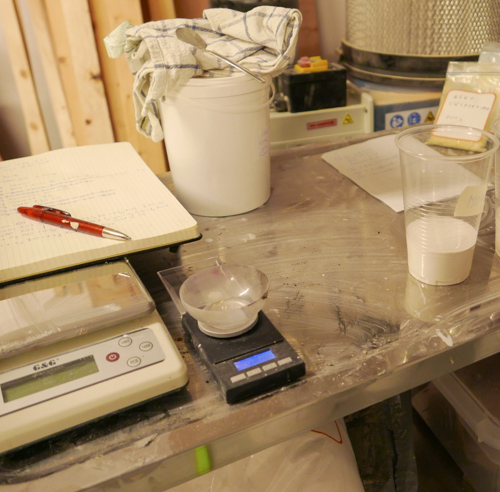
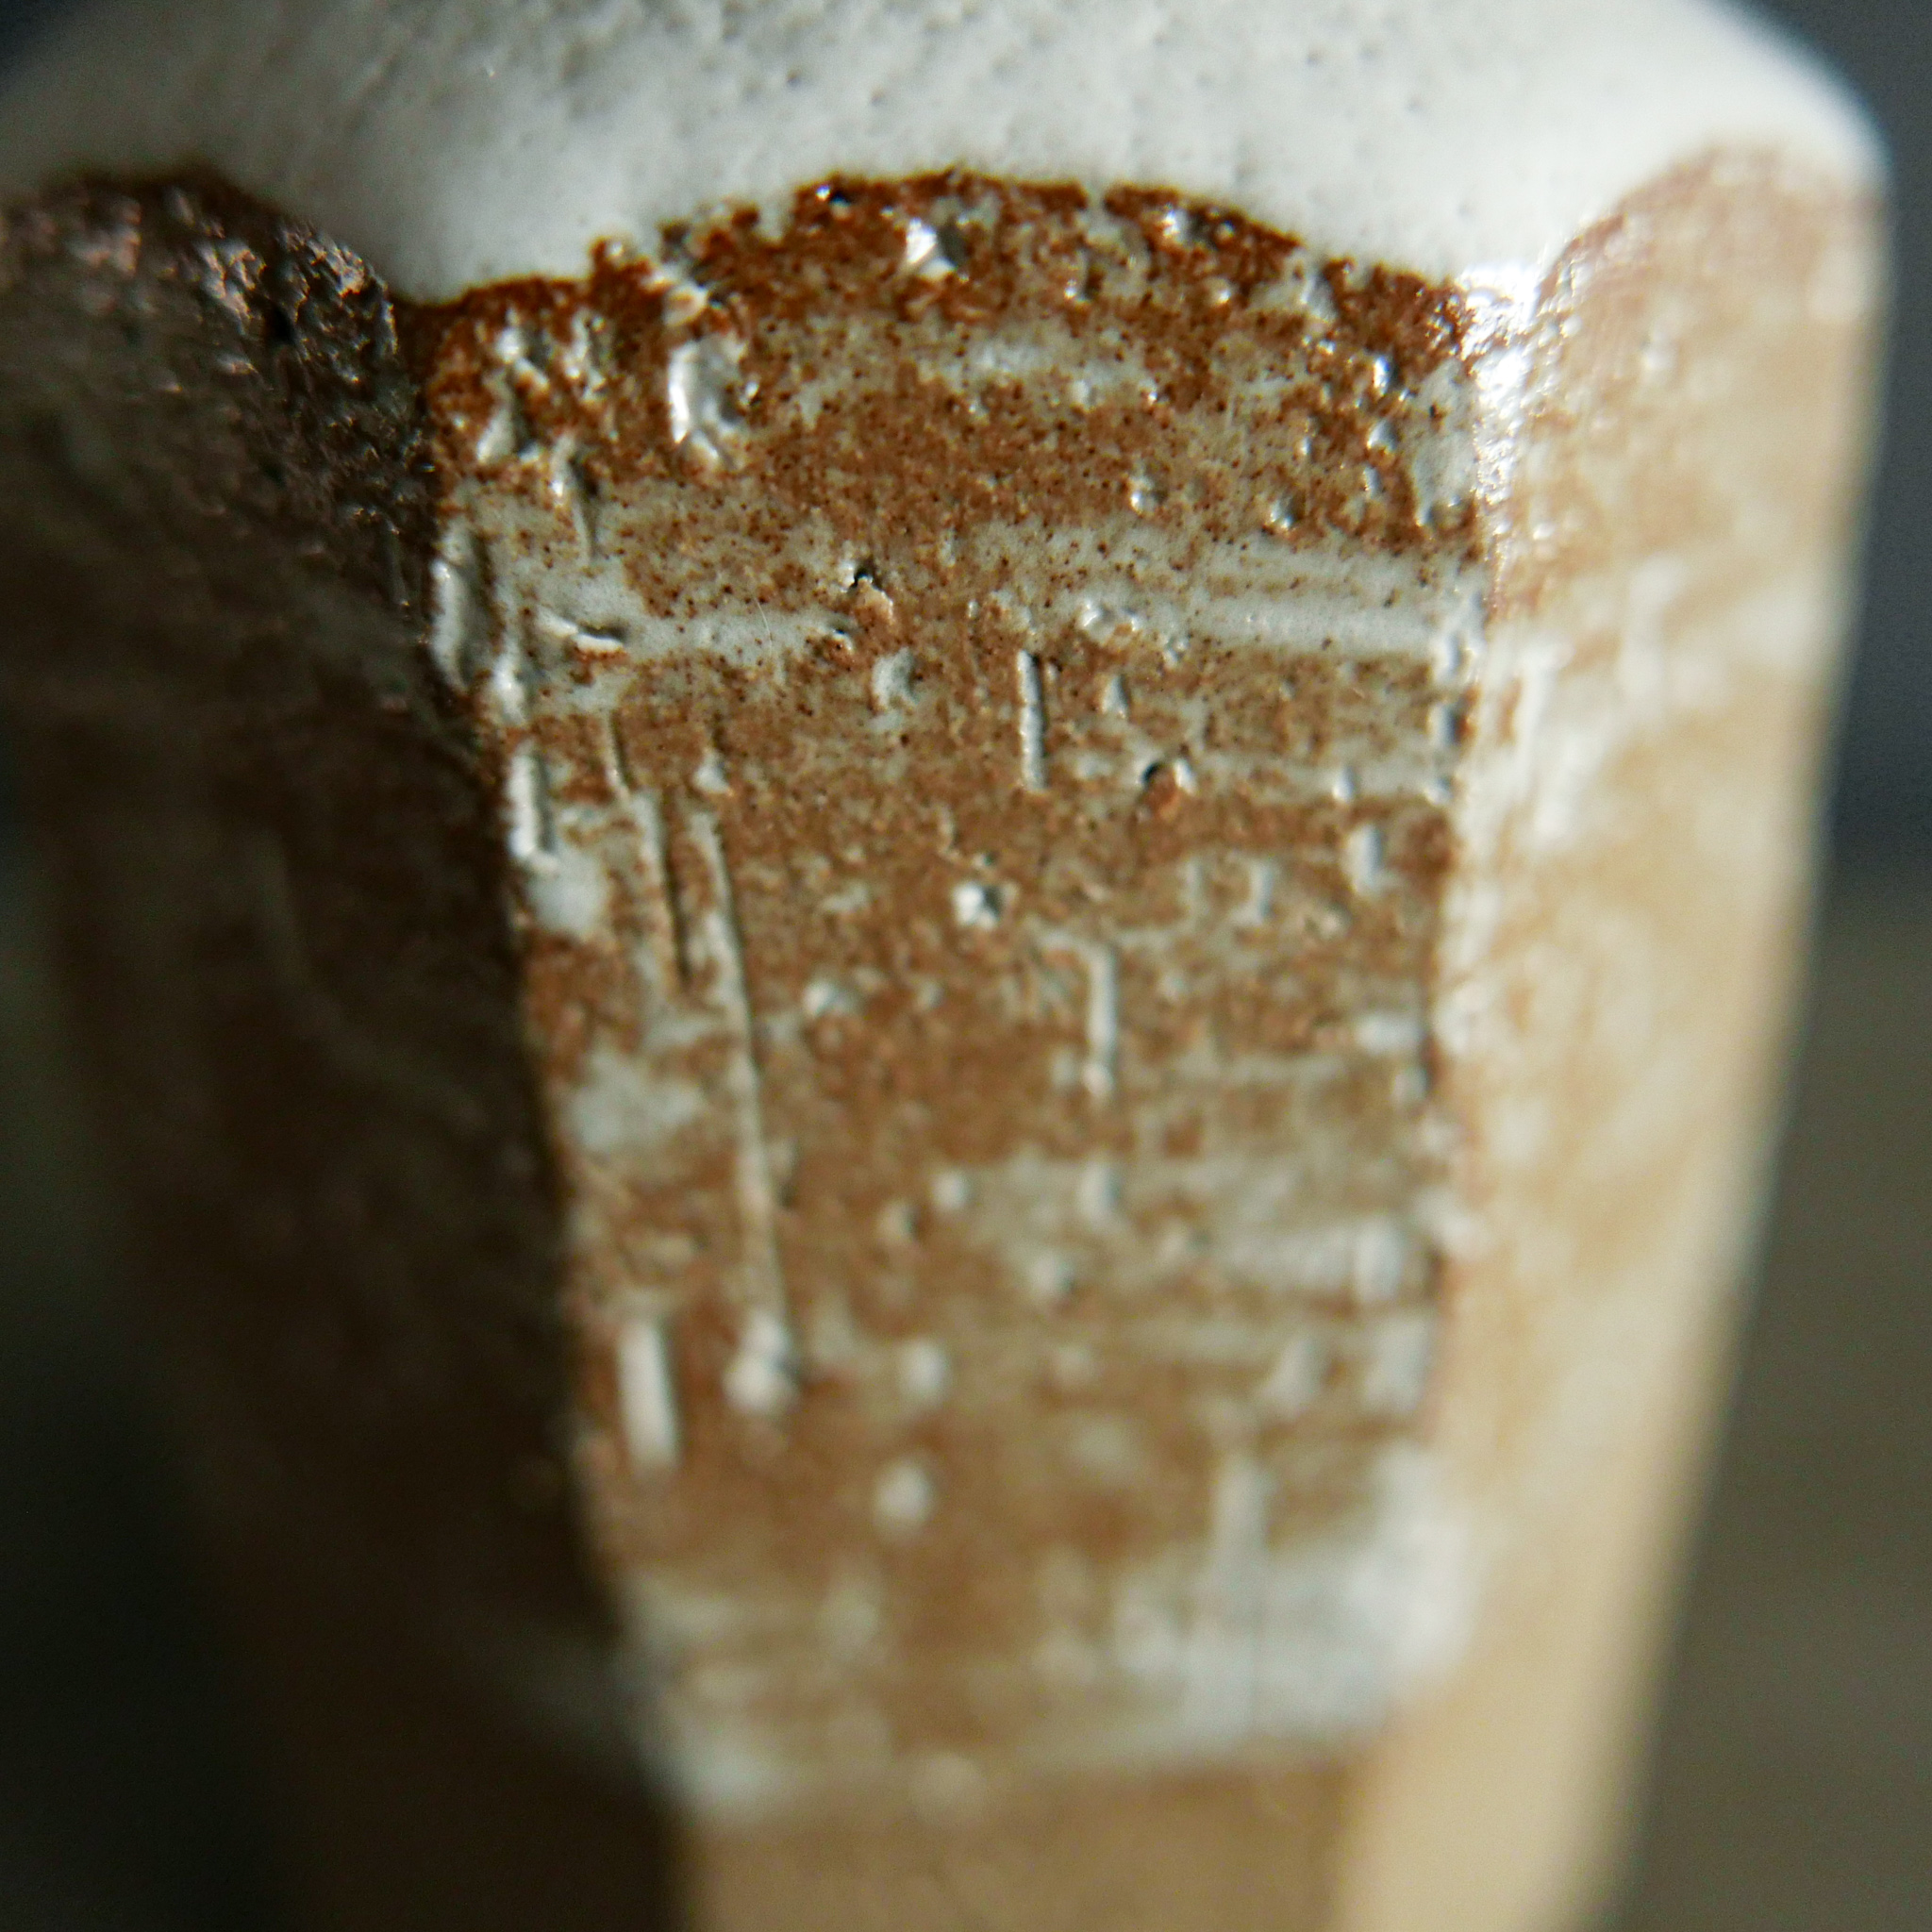
Buckle up, I am going to give you an insight on the pottery process, that is not that simple and unless you got caught up on making pottery yourself you most likely do not estimate the complexity of it.
It starts with the clay and the uniformity of the material. To get started you have to wedge the clay, it is best to use well mixed clay and without air bubbles. Wedging is a quite intense first step, you can easily break a sweat :). Second you measure your lump of clay and beat it into a ball, always fixating on the idea not to beat air bubbles in it.
For the work on the pottery wheel it is important to be calm and slow in one’s movement. This job is nothing for a rush or even unconcentrated day. It is all about the centrifugal force and taming the clay. While throwing a piece I consider a few things: the lump of clay has to be properly centered on the wheel as a first step, When opening up it is important to compress the bottom of the pot and later on the pulled up walls as well. I try to throw a the desired shape on the wheel and not to trim the shape of the pot that much. The walls have to be very balanced and mostly uniform. At this stage it is most important to know what to achieve in the design, whilst throwing nearly every shape is possible. There should be a connection to the destination of a pot. When speaking of a bowl there are different sizes of course but also the angle of walls. This results in different perceptions of the served food, even when only looking on the inside of the bowl.
This is the stage where the pots get thrown on the wheel, you cut it loose from the wheel or bat and let it dry until leatherhard. This is just a term used to describe the optimal state of the clay to be trimmed. At this moment I take some trimming tools in order to shape the pot more in an even distribution. This process step is crucial for the character of the finished piece mainly of the parts facing the table or countertop (base of a bowl). Coming from the wheel it has a heavy bottom and no foot. I remove clay in order to restore balance, but not too much to make it too evenly distributed. I know it sounds odd, but the balance of a pot gives a lot of information.
After trimming the piece it is stamped with a makers mark and set aside to  dry, at least a week. Next in process is the bisque firing at 960°C, cleaning the pots from dusk and glazing. Glazing in it’s essence is putting a glass surface on the pot in order to make it more durable and easier to clean. A pot without glaze is nevertheless durable and functional but due to it’s porous nature it’s recommended to eat off a glazed surface. Glaze chemistry is quite complex and there are a lot of things to consider. After glazing the pots get through their final firing at 1260°C (for my clay and glazes). The pots get sanded and cleaned as a very final step. Every pot therefore is in my hands plenty of times, it is checked very often along the way and has to pass my very critical eyes.
I have my glazes tested for food safety and they all passed the test. I work with five different clays at the moment, I mix them partially and each one has different characteristics. I ‘ve tested at least 20 different clays so far, the journey with glazes is even more complex. The scope for design of the pots is endless as well. When making pots there is a number of decision that have to be made in order to get them to speak a own language. I don’t mean to sound mystic, but my fascination for ceramics is real and the more pots I make the more I get convinced that there are nuances that make a difference. If you never felt how a handmade cup feels go out and experience it on your own. Decide, if there is something about it that speaks to you and decide for yourself with what kind of object you want to surround yourself. For me there is no going back.


